1. Introduction
Recycling for Gardening: Learn how to create a rotating irrigation system using recycled plastic bottles, saving money and promoting sustainability.
2. Materials Needed
Gather Supplies: You’ll need plastic bottles, a sharp knife, a nail/skewer, a drill, a garden hose, a hose clamp, and optional items like spray paint and PVC pipe.
3. Preparing the Bottles
Clean and Dry: Ensure bottles are thoroughly washed and dried, with all labels and stickers removed.
4. Creating Sprinkler Holes
Poke Holes: Use a heated nail or skewer to make several small holes around the bottom two-thirds of one bottle.
5. Cutting the Second Bottle
Cut Bottom: Cut the bottom off the second bottle to facilitate connection with the first bottle.
6. Connecting the Bottles (Simple Method)
Tape Connection: Insert the neck of the bottle with holes into the open end of the second bottle and secure with duct tape.
7. Connecting the Bottles (Sturdy Method)
Wire or Zip Tie: Drill holes in both bottle caps, thread wire or zip tie through, and twist to secure.
8. Attaching the Hose
Secure Hose: Make a small hole in the cap of the second bottle, slide the hose onto the bottle neck, and secure with a hose clamp.
9. Optional: Adding Height
Use PVC Pipe: Drill a hole in the bottom of the first bottle, slide onto a PVC pipe, and secure with tape for added height.
10. Optional: Decorating
Spray Paint: Decorate the bottles with spray paint, avoiding the holes.
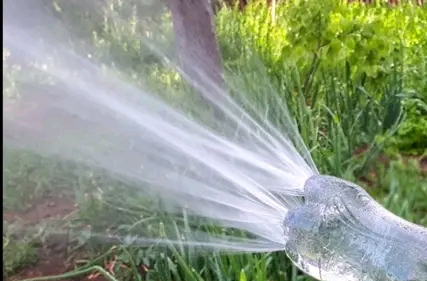
11. Using the Irrigation System
Set Up and Test: Place the system in your garden, turn on the hose, and adjust water pressure for the desired spray strength.
12. Conclusion
Efficient Gardening: By following these steps, you can create an efficient and eco-friendly irrigation system for your garden.